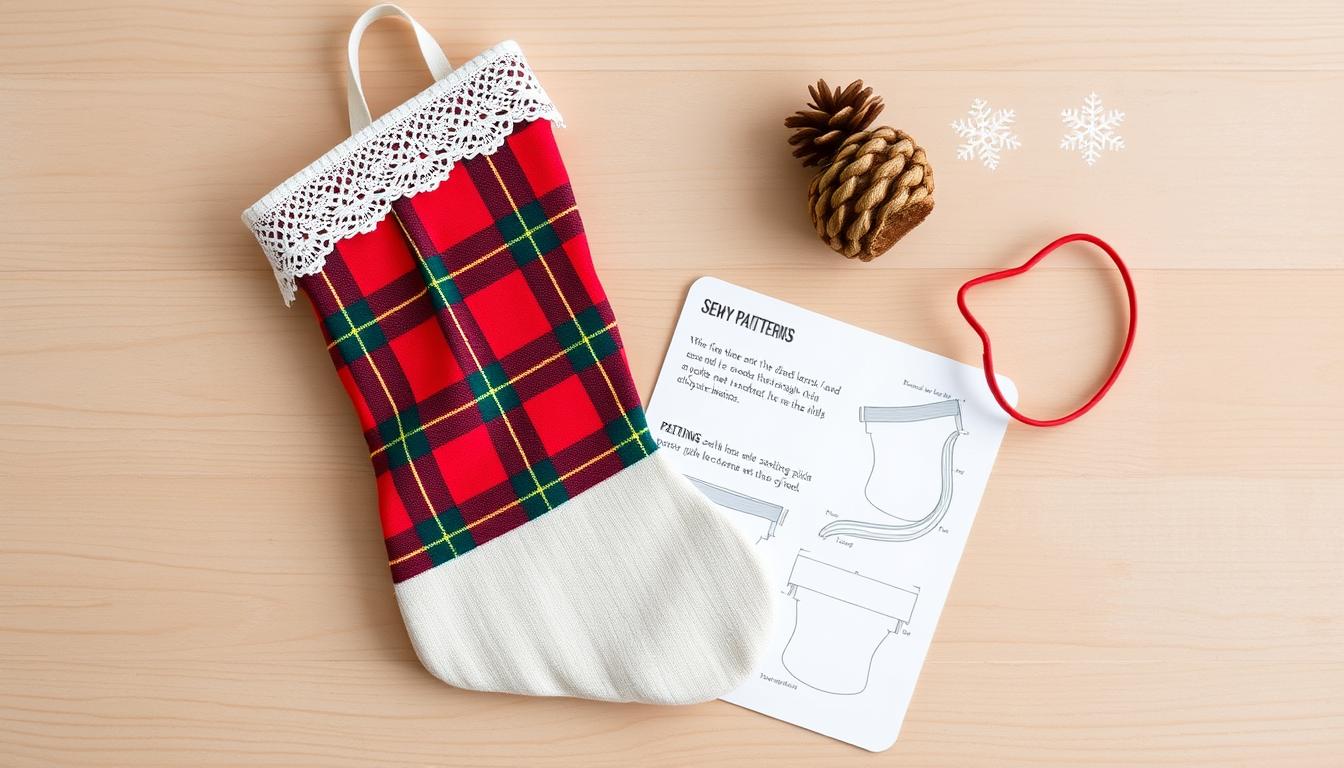
Sew a Stocking at Home: Simple Instructions
Ready to create a magical holiday treasure? Learning how to sew a stocking is an exciting craft. It turns simple fabric into a festive keepsake. Whether you’re a beginner or a seasoned crafter, this DIY Christmas stocking pattern will help you design a unique decoration.
Crafting your own stocking isn’t just about making something beautiful—it’s about creating memories. I’ll guide you through each step. We’ll break down complex techniques into easy-to-follow instructions that make sewing fun and accessible.
In this guide, you’ll discover everything from selecting the perfect fabric to adding personalized touches. These touches make your stocking truly special. Grab your sewing supplies, and let’s embark on a crafting adventure that will become a cherished family tradition!
Essential Materials and Tools for Your DIY Stocking
Are you ready to make a beautiful homemade Christmas stocking? The first step is to gather the right supplies. I’ll guide you through what you need to make a memorable holiday gift.
Basic Sewing Supplies Checklist
Before starting your stocking project, make sure you have these basic tools:
- Sharp fabric scissors
- Measuring tape
- Straight pins
- Sewing machine (or needle for hand sewing)
- Iron and ironing board
- Fabric marking pen or chalk
Fabric Selection Guide
Choosing the right fabric is key for your stocking. Cotton, felt, and velvet are great choices. Think about these factors:
- Durability of the material
- Thickness and weight
- Seasonal color and pattern
- Ease of washing
Optional Decorative Elements
Want to add something extra special to your stocking? Here are some fun embellishments:
- Ribbons and trims
- Buttons and sequins
- Embroidery thread
- Appliqué patches
- Festive fabric patches
Pro tip: Quality is important when choosing supplies. Invest in good materials to make your stocking a treasured holiday gift.
How to Sew a Stocking: Step-by-Step Guide
Making your own holiday stockings is a fun craft that adds warmth to your Christmas decor. This guide will show you how to sew a stocking step by step.
Before starting, gather all your materials. Place your fabric, pins, scissors, and sewing machine on a clean surface.
- Place your stocking template on the folded fabric
- Cut around the template, leaving a small seam allowance
- Pin the two fabric pieces together, right sides facing inward
- Sew along the edges, leaving the top open
When sewing your stockings, be precise. Take your time and keep your seam allowances consistent. A 1/2-inch seam is good for most fabrics.
Pro tip: Use a zigzag stitch or serger for extra durability. This helps prevent fraying and makes your stocking last longer.
- Check your tension settings
- Use matching thread color
- Backstitch at the beginning and end of each seam
After sewing the main body, turn your stocking right side out. Gently push out the corners for a crisp shape. Your handmade stocking is now taking shape!
Choosing the Perfect Fabric for Your Christmas Stocking
Choosing the right fabric is key for making festive stocking templates that become holiday treasures. The fabric you pick affects the stocking’s look, durability, and quality.
Starting your Christmas crafts sewing journey means picking fabrics. Each material has its own special qualities. These can turn your stocking into something truly special.
Best Fabric Types for Durability
- Cotton Flannel: Soft, warm, and great for traditional designs
- Felt: Strong and perfect for keeping the stocking shape
- Velvet: Luxurious and very durable
- Quilting Cotton: Light and easy to sew with
Color and Pattern Combinations
Creating the perfect festive stocking template means choosing colors wisely. Think about your home’s holiday decor when picking fabrics.
| Color Palette | Best For | Mood |
|---|---|---|
| Traditional Red/Green | Classic Christmas Theme | Warm & Nostalgic |
| Metallic Silver/White | Modern Minimalist Decor | Elegant & Contemporary |
| Neutral Tones | Versatile Styling | Subtle & Sophisticated |
Fabric Amount Guidelines
For standard Christmas stockings, you’ll need about 1/2 yard of main fabric and 1/4 yard of accent fabric. This gives you enough for your designs and for adding extra touches.
Pro tip: Buy a little extra fabric. This way, you’re ready for any mistakes or changes in your sewing project.
Creating and Using Stocking Templates
Making the perfect DIY Christmas stocking starts with a good template. It doesn’t matter if you’re new to crafting or have lots of experience. A solid template is key to making your holiday decoration look professional.
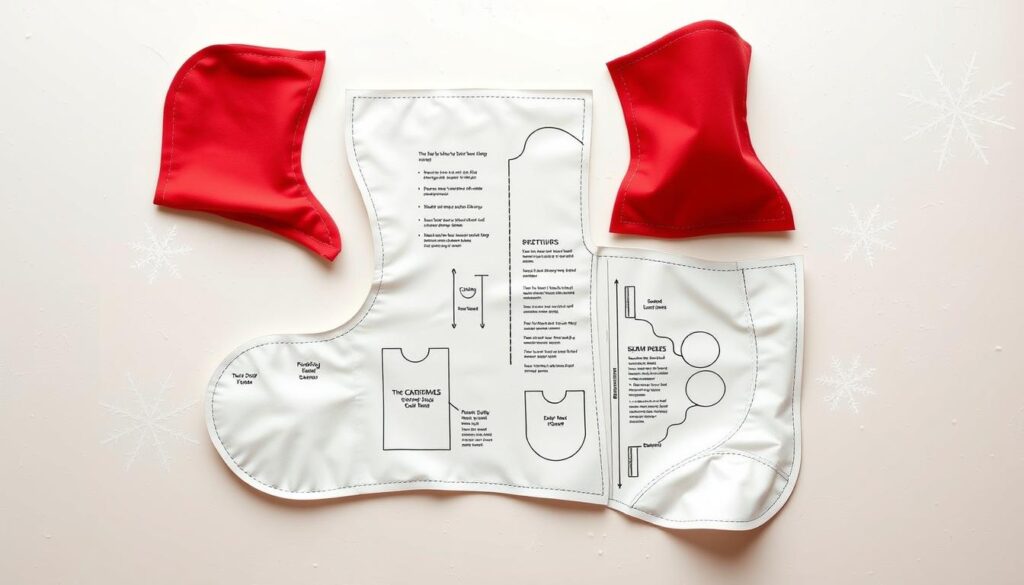
Creating a stocking template is easy. Here are three simple ways to start your beginner project:
- Trace an existing stocking you love
- Draw a free-hand template on kraft paper
- Download printable templates online
When designing your DIY Christmas stocking pattern, keep these tips in mind:
- Add a 1/2 inch seam allowance around your template
- Use sturdy paper or cardstock for durability
- Create separate templates for the main body and cuff
Pro tip: Laminate your paper template to make it reusable for multiple stocking projects!
| Template Type | Difficulty Level | Recommended For |
|---|---|---|
| Hand-drawn | Beginner | Crafters wanting custom designs |
| Traced | Easy | Quick reproduction of favorite shapes |
| Downloadable | Easiest | Those seeking precise patterns |
A great template is the base of any successful DIY Christmas stocking. Take your time, measure carefully, and feel free to try different shapes and sizes!
Cutting and Preparing Your Fabric Pieces
When sewing a stocking, precision is key. Getting your fabric pieces right is the first step to a beautiful project. The right cutting techniques can make your stocking look professional or homemade.
- Sharp fabric scissors
- Rotary cutter
- Cutting mat
- Fabric chalk or washable marker
- Pattern weights or pins
Pattern Layout Tips
When cutting your fabric, pay attention to the grain line. Fabric direction matters! Here’s how to get the best results:
- Fold your fabric with the right sides together
- Smooth out any wrinkles
- Pin your pattern carefully
- Check that the pattern’s grain line matches the fabric’s weave
Precision Cutting Techniques
For clean, accurate cuts, try these tips:
- Use long, smooth cutting motions
- Keep your scissors or rotary cutter perfectly aligned
- Cut slightly outside the pattern line to allow for seam allowance
- Double-check measurements before cutting
Pro tip: Use pattern weights for slippery or delicate fabrics. This helps prevent fabric distortion. It ensures your fabric pieces are cut perfectly every time.
Basic Stitching Techniques for Beginners
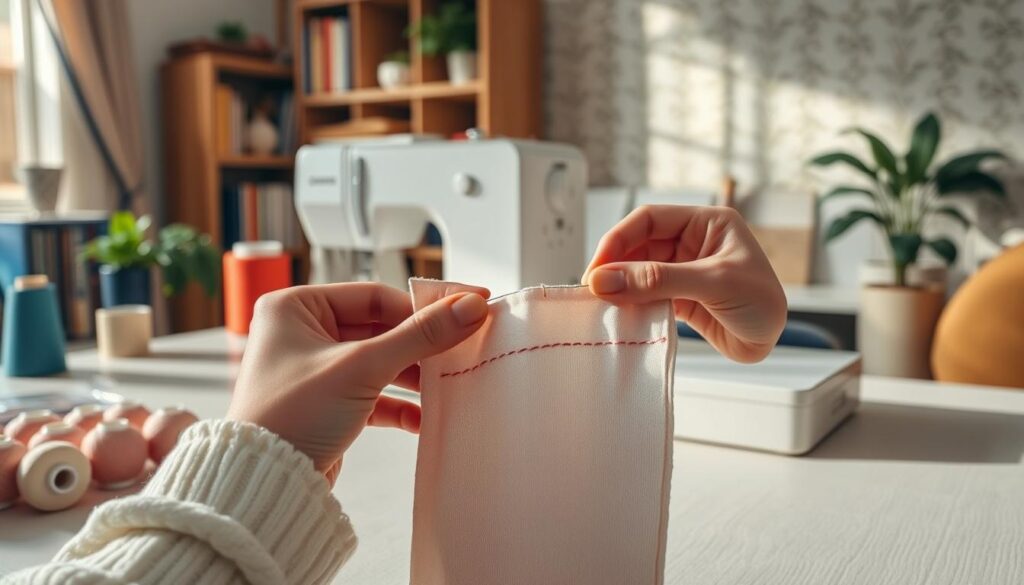
Learning basic stitches is key for any easy stocking sewing guide. If you love making beginner stockings, knowing the basics will make you more confident. It will also help you make beautiful stockings by hand.
Let’s look at some important stitching methods to improve your sewing:
- Straight Stitch: It’s the base of most sewing. Keep your stitches even by moving the fabric slowly and keeping the pressure steady.
- Backstitch: This method makes seams stronger. Start sewing forward, then go back a bit to make overlapping stitches.
- Curved Stitching: For stocking edges and designs, handle the fabric gently and move the machine slowly.
Here are some tips for clean stitches in your beginner stocking project:
- Practice on scrap fabric before starting your actual stocking
- Use proper needle tension
- Select the right stitch length for your fabric
- Keep your seam allowance consistent
Every stitch gets you closer to making a special, handmade holiday gift. Don’t worry if your first tries aren’t perfect. Sewing gets better with practice!
Adding a Hanging Loop and Cuff
Adding the finishing touches can make your Christmas crafts sewing project stand out. The hanging loop and cuff are key. They make your stockings functional and add a personal touch.
Loop Placement Methods
Creating a strong hanging loop needs both precision and creativity. Here are some top methods:
- Corner Loop: Attach a small fabric loop at the top back corner of the stocking
- Center Back Loop: Position the loop directly in the center of the stocking’s back panel
- Side Loop: Create a loop on one side for an asymmetrical design
Exploring Cuff Style Options
Cuffs can really boost your Christmas crafts sewing project’s look. Here are some stylish choices:
| Cuff Style | Description | Difficulty Level |
|---|---|---|
| Classic Fold-Over | Simple, traditional design that shows off fabric pattern | Easy |
| Contrasting Fabric | Use a different fabric for added visual interest | Intermediate |
| Fur-Trimmed | Luxurious and festive option for elegant stockings | Advanced |
When picking your loop and cuff, think about your stockings’ overall look. The right mix can turn your project into something truly special.
Decorative Elements and Embellishments

Turning your festive stocking templates into something special is all about the right decorations. The right embellishments can make a simple DIY Christmas stocking into a treasured family heirloom.
Let’s look at some creative ways to make your stocking unique:
- Appliqué Magic: Cut out fabric shapes like snowflakes, stars, or holiday characters and stitch them onto your stocking base
- Embroidery Details: Add names, dates, or festive designs with colorful thread
- Sequin and Beadwork: Create sparkling accents that catch the light
- Ribbon Accents: Attach decorative ribbons for a classic touch
When picking embellishments for your DIY Christmas stocking, keep these tips in mind:
- Choose decorations that match your fabric
- Make sure attachments are secure for long-lasting wear
- Balance your design to avoid overwhelming the stocking
No-sew options like fabric glue or iron-on patches are great for those who prefer simpler designs. The key is to make a stocking that shows off your personal style and holiday cheer!
Troubleshooting Common Stocking Sewing Issues
Sewing a stocking can sometimes present unexpected challenges, even for experienced crafters. When learning how to sew a stocking, you might encounter a few technical hiccups along the way. Don’t worry – these common issues have simple solutions that can help you create a beautiful finished product.
Stocking sewing supplies can make a big difference in resolving problems. I’ll walk you through some of the most frequent challenges you might face during your stocking-making project.
Addressing Uneven Seams
Uneven seams can be frustrating, but they’re easily fixable with the right technique. Here are some quick solutions:
- Use pins to hold fabric pieces together before sewing
- Check your sewing machine’s tension settings
- Practice sewing on scrap fabric before starting your main project
Managing Thick Fabric Challenges
Working with thick fabrics requires special attention when sewing a stocking. Consider these tips:
| Fabric Type | Recommended Approach |
|---|---|
| Wool | Use a denim or heavy-duty needle |
| Velvet | Use tissue paper underneath to prevent slipping |
| Fleece | Adjust machine tension and use a walking foot |
Pro tip: When working with multiple layers of thick fabric, take your time and use a longer stitch length to prevent bunching and ensure smooth seams.
Remember, every sewing project is a learning experience. The key to success is patience and practice when creating your perfect handmade stocking.
Personalizing Your Handmade Stocking
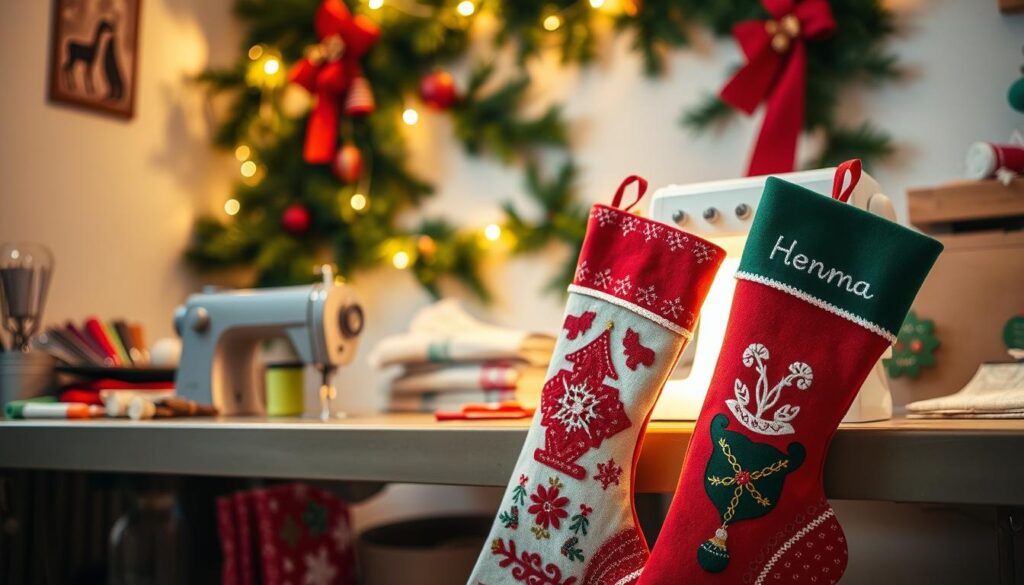
Making your own holiday stockings is a great way to show off your creativity and family bond. Adding personal touches makes a simple craft into a treasured keepsake. It tells a story that’s special to you.
Here are some fun ways to make your sewing project unforgettable:
- Embroidery with Names or Initials
- Choose thread that matches your stocking’s look
- Pick elegant or playful fonts
- Family Heirloom Integration
- Use old buttons
- Add fabric patches from important clothes
- Themed Personalization
- Stockings for sports fans
- Decorations that show off hobbies
For lasting touches, try these strong methods:
| Technique | Durability Rating | Recommended Use |
|---|---|---|
| Machine Embroidery | High | Names, Dates |
| Fabric Paint | Medium | Decorative Designs |
| Appliqué | High | Detailed Imagery |
Pro tip: Always use high-quality, washable materials to ensure your personalized stocking remains beautiful for generations!
Tips for Professional-Looking Results
Making a stunning homemade stocking needs attention to detail. Follow these fabric stocking instructions to turn your DIY project into something amazing. The secret to a professional look is in the precision and careful work.
Learning an easy stocking sewing tutorial means paying attention to key details. These techniques will make your stocking look like it was made by a pro.
Pressing Techniques for Crisp Edges
Pressing is your secret to a polished look. Here’s how to do it right:
- Use a clean, well-adjusted iron set to the right fabric temperature
- Press seams flat before stitching for smooth lines
- Use a pressing cloth to protect delicate fabrics
- Steam helps remove wrinkles and makes edges crisp
Quality Checkpoints for Your Stocking
Before saying your stocking is done, check these important things:
- Look over all seams for even stitching
- Make sure edges are even
- Check that the hanging loop is securely attached
- Test the stocking’s strength by gently pulling on seams
- Make sure decorative elements are firmly in place
Getting professional results takes patience and careful work. Take your time with each step of your fabric stocking instructions. You’ll make a beautiful, lasting holiday gift that will wow everyone.
Conclusion
Finishing your DIY Christmas stocking is more than a project. It’s a chance to show off your creativity and learn new skills. Every stitch tells a story of love and art.
Making a homemade stocking teaches you sewing and lets you create something special. It’s perfect for beginners or those wanting to grow their skills. Your stocking will be a family treasure, showing off your style and love for crafting.
Don’t worry about making it perfect. Enjoy the process and let your creativity shine. Each stocking you make will make you better at sewing and more confident. It’s all about having fun and making something unique.
Keep trying new things in your crafting journey. Your Christmas stocking is just the start. It’s a way to blend tradition, personal touch, and the joy of making something by hand.
