Crafting the Perfect Stocking: A Step-by-Step Tutorial
Welcome to your ultimate guide on how to make a stocking! Making your own DIY Christmas stockings is a fun way to add a personal touch to your holiday decor. I’m here to guide you through every step of this festive crafting journey.
Crafting a stocking is more than just making a decorative item. It’s about creating a cherished memory that can be passed down through generations. Whether you’re a beginner or an experienced crafter, this tutorial will help you design a stocking that’s uniquely yours.
I’ll break down the entire process into simple, easy-to-follow steps. You’ll learn how to choose the perfect fabric and add those special finishing touches. You’ll discover everything you need to know about creating beautiful DIY Christmas stockings that will become treasured family keepsakes.
Get ready to unleash your creativity and turn a simple piece of fabric into a festive masterpiece. This will bring joy to your holiday celebrations. Let’s dive in and start crafting!
Essential Materials and Tools for DIY Christmas Stockings
Making your own Christmas stockings is a fun holiday activity. It needs the right materials and tools. Getting everything ready beforehand will make your crafting fun and easy.
Fabric Selection and Cutting Tools
Picking the right fabric is key for your Christmas stockings. Here are some great fabric choices:
- Cotton for classic looks
- Velvet for a fancy feel
- Felt for simple crafting
- Flannel for warmth
For cutting your fabric, you’ll need:
- Sharp fabric scissors
- Rotary cutter
- Cutting mat
- Fabric marking pen
Decorative Elements and Embellishments
Make your stockings stand out with these decorations:
| Embellishment Type | Craft Impact |
|---|---|
| Sequins | Adds sparkle and glamour |
| Ribbon | Creates elegant borders |
| Buttons | Provides vintage charm |
| Embroidery thread | Enables personalized designs |
Basic Sewing Supplies
To finish your stockings, you’ll need these sewing tools:
- Sewing machine (or needle for hand-sewing)
- Matching thread colors
- Straight pins
- Measuring tape
- Iron for pressing seams
Having these materials ready will help you craft a beautiful stocking. Each tool and material is important for a personalized and cozy holiday decoration.
How to Make a Stocking: Getting Started

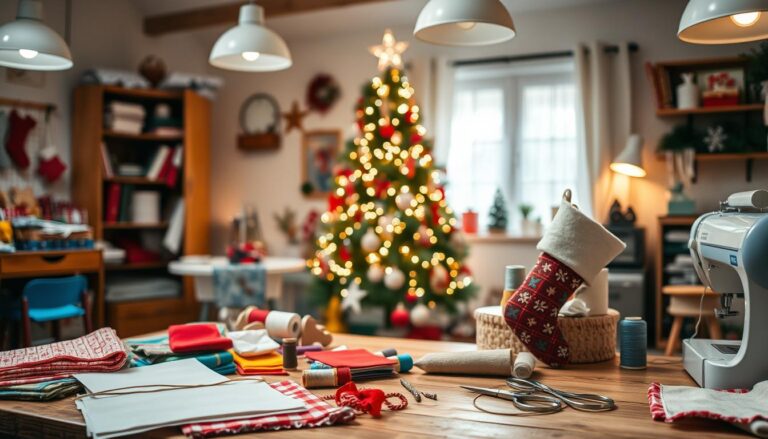
Are you ready to sew a holiday stocking that will become a family treasure? Making stockings from scratch might seem hard, but I’m here to help. Let’s turn your crafting space into a festive workshop!
Before starting, get ready. Set up a clean, well-lit workspace with lots of room for your materials. Natural light is best for detailed work.
- Clear a large, flat surface like a dining table or craft desk
- Gather all necessary sewing tools and materials
- Ensure your sewing machine is clean and threaded
- Have sharp fabric scissors nearby
Choosing the right pattern is key when you start sewing a holiday stocking. You have two main options:
- Use a pre-made commercial pattern – great for beginners
- Create your own custom template – perfect for experienced crafters
If you’re new to stocking making, don’t worry. Every project is a chance to learn and get better. The most important thing is to enjoy the creative process and have fun making your unique holiday vision come to life!
Choosing the Right Fabric for Your Holiday Stocking
Choosing the right fabric for your Christmas stocking can make your holiday crafting special. The fabric you pick is key to making a stocking that looks great and lasts for years.

Starting your stocking project means knowing your fabric choices. Each fabric has its own special qualities that can make your holiday decorations pop.
Traditional Fabric Options
Classic Christmas stocking materials are both charming and durable. Here are some timeless options:
- Velvet: Luxurious and rich-looking
- Felt: Soft and easy to work with
- Wool: Warm and traditional
- Cotton flannel: Cozy and versatile
Modern Material Alternatives
For those looking for something new, modern materials offer exciting options:
- Metallic fabrics
- Sequined materials
- Waterproof synthetic blends
- Recycled textile options
Fabric Weight Considerations
Fabric weight is important when making an easy stocking pattern. Here’s a quick guide to help you pick:
| Fabric Weight | Best For | Difficulty Level |
|---|---|---|
| Lightweight | Delicate decorative stockings | Beginner |
| Medium weight | Standard Christmas stockings | Intermediate |
| Heavy weight | Sturdy, long-lasting stockings | Advanced |
Pro tip: Try mixing different fabric weights and textures for a unique stocking that shows off your style!
Creating Your Perfect Stocking Pattern
Designing an easy stocking pattern is simpler than you might think! To make stockings from scratch, you need to know basic measurement techniques and pattern creation. We’ll guide you through simple steps to create a unique holiday decoration.

Creating your stocking pattern starts with gathering a few essential tools:
- Large paper or pattern tracing paper
- Pencil and ruler
- Measuring tape
- Scissors
To draft an easy stocking pattern, follow these measurements:
| Stocking Part | Recommended Measurement |
|---|---|
| Length | 16-20 inches |
| Width at Top | 8-10 inches |
| Width at Foot | 6-7 inches |
When making stockings from scratch, precision is key. Trace your initial pattern onto paper, then make a cardboard template for repeated use. This method ensures consistency and lets you try different sizes and shapes.
Pro tip: Always add a 1/2 inch seam allowance around your pattern for stitching. Your stocking pattern should have a gentle curve at the top and a slight taper towards the foot for that classic holiday look.
Basic Sewing Techniques for Stocking Construction
Mastering basic sewing techniques can turn your holiday stocking project into a pro-level piece. It takes patience and practice to sew a stocking. But with the right steps, you’ll make a stunning festive accessory.

Creating the perfect stocking means knowing key sewing principles. These will make your holiday DIY project stand out.
Essential Seam Types for Stockings
The right seam can greatly affect your stocking’s look and durability. Here are top seam techniques:
- Straight Stitch: Great for basic fabric joining
- French Seam: Offers a clean, professional finish
- Zigzag Stitch: Stops fabric fraying
Navigating Tricky Curves and Corners
Curved edges and sharp corners can be tough when sewing a stocking. Here are some tips:
- Clip curves before turning fabric
- Use a point turner for sharp corners
- Press seams carefully with an iron
Lining Techniques for Enhanced Durability
A good lining can make your holiday stocking even better. Here are some lining tips:
| Lining Type | Benefits | Best Used With |
|---|---|---|
| Cotton Lining | Soft, breathable | Lightweight fabrics |
| Flannel Lining | Warm, cozy | Winter-themed stockings |
| Silk Lining | Luxurious finish | Decorative stockings |
Each technique brings you closer to making a professional-looking holiday stocking. It will become a treasured family tradition.
No-Sew Stocking Options for Beginners
Making DIY Christmas stockings is easy, even if you can’t sew. No-sew methods make decorating for the holidays fun for everyone. You can make festive stockings quickly, without needing to sew.
Looking into no-sew stocking crafts opens up many creative possibilities. Felt is a great choice because it doesn’t fray and comes in many colors and textures.
- Fabric glue techniques for seamless construction
- Iron-on adhesive methods
- Clever folding and no-stitch joining approaches
- Decorative embellishments without sewing
Your DIY Christmas stockings can look professional, even without sewing. Fabric fusion webbing lets you make crisp edges and secure seams with just an iron. Cut your stocking shape, apply the webbing, and press for instant bonding.
Here are some ideas for decorating no-sew stockings:
- Fabric paint designs
- Glitter fabric sheets
- Stick-on rhinestones
- Iron-on patches
- Ribbon decorations
No-sew stocking crafts are great for making things with kids or for last-minute decorations. With simple tools and a bit of creativity, anyone can make unique and lovely Christmas stockings.
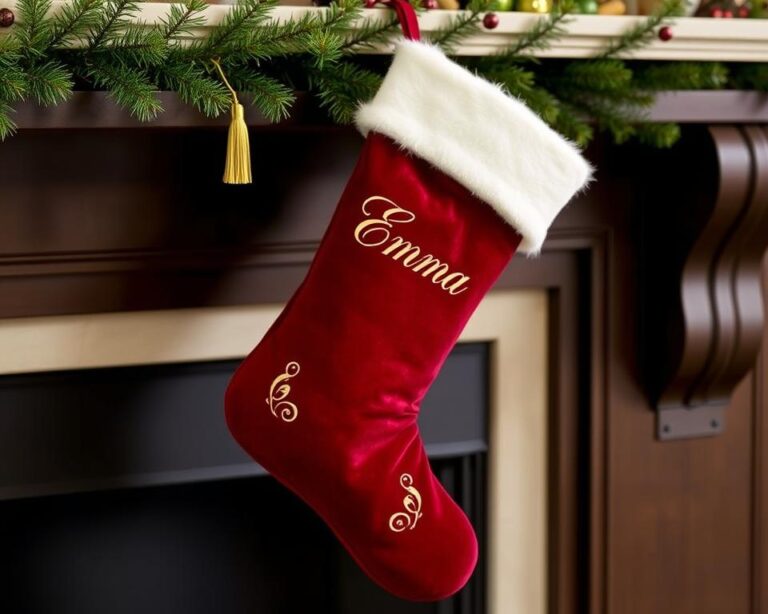
Adding Personal Touches: Decorating Your Stocking
Turning homemade Christmas stockings into keepsakes is all about making them personal. The decorating process lets you add your unique touch. This makes each stocking special for its recipient.
Personalized stocking ideas can take your holiday crafting to the next level. Let’s dive into some fun ways to make your stocking pop!
Embroidery Techniques for Custom Design
Embroidery is a classic way to personalize stockings. It’s great for both beginners and experienced crafters. Here are some methods to create beautiful designs:
- Hand embroidery with colorful threads
- Machine embroidery for precise detailing
- Freestyle stitching for artistic expression
Creative Monogram and Name Incorporation
Adding names or monograms makes a stocking a family treasure. Here are some ways to personalize:
| Technique | Difficulty Level | Best For |
|---|---|---|
| Iron-on Letters | Beginner | Quick Personalization |
| Fabric Paint Stenciling | Intermediate | Custom Designs |
| Stitched Monograms | Advanced | Elegant Finish |
The secret to amazing homemade Christmas stockings is to let your imagination run wild. Feel free to mix techniques and try out different embellishments. This way, you can show off your personal style.
Tips for Creating Durable and Long-Lasting Stockings
Learning to make a stocking means focusing on durability. DIY Christmas stockings should last for years, filled with festive joy and gifts. They become cherished holiday keepsakes.
To make your handmade stockings last, follow these tips:
- Choose high-quality, tightly woven fabrics that resist wear and tear
- Reinforce stress points like hanging loops and toe areas with extra stitching
- Use interfacing or stabilizer for added strength in key areas
- Select thread that matches the fabric’s durability needs
Good construction techniques are key to a long-lasting stocking. Double-stitched seams and zigzag edges stop fraying. This keeps your DIY Christmas stockings looking great for years.
How you store your stockings is just as important as how you make them. Keep them in a cool, dry spot, away from sunlight. Use acid-free tissue paper to prevent color fading and protect delicate designs.
- Avoid hanging stockings all year to prevent unnecessary strain
- Clean them gently before storing for the season
- Keep them away from moisture and extreme temperatures
By following these steps, your DIY Christmas stockings will become family treasures. They’ll tell stories of creativity and love for years to come.
Creative Ideas for Stocking Cuffs and Hanging Loops
When making homemade Christmas stockings, the last touches can make a big difference. The cuff and hanging loop are your chance to get creative. They let you add a personal touch to your holiday decor.
Unique Cuff Styles to Elevate Your Stocking
Start with creative cuff designs to make your stocking special. Here are some ideas:
- Reversible cuffs with contrasting fabrics
- Fur-trimmed edges for a luxurious touch
- Ruffled cuffs with decorative stitching
- Embroidered cuff details
Secure and Stylish Hanging Solutions
A strong hanging loop is key for your Christmas stockings. Here are some ways to attach it:
- Reinforce loops with double-layered fabric
- Use decorative ribbons for a festive look
- Create loops with matching or contrasting materials
- Add decorative buttons or embellishments
Pro tip: Choose hanging loop materials that match your stocking’s design and can hold holiday treats!
The right cuff and hanging loop can make your stocking unique. Whether you like classic or playful designs, these details bring your project to life.
Troubleshooting Common Stocking-Making Challenges
Making DIY Christmas stockings can be like a crafting obstacle course. But don’t worry, every maker faces challenges. I’ll guide you through common problems and offer solutions to keep your project going smoothly.
Fabric troubles can stop even the best plans. Here are the top issues crafters face:
- Fabric Puckering: Caused by tension issues or incorrect needle selection
- Misaligned Seams: Results from improper cutting or pinning
- Uneven Cuffs: Happens due to inconsistent measuring or sewing
- Sizing Problems: Stockings turning out too large or too small
When making your stocking, watch out for these common problems. Preparation and patience are your best friends in overcoming crafting challenges.
| Problem | Quick Fix | Prevention Tip |
|---|---|---|
| Fabric Puckering | Adjust machine tension | Use appropriate needle for fabric weight |
| Misaligned Seams | Carefully re-pin and restitch | Use pattern weights and sharp scissors |
| Sizing Issues | Adjust seam allowances | Make a paper pattern first |
Mistakes are part of every DIY project. The secret to making a great stocking is to stay calm and think creatively. If you make a mistake, don’t worry. See it as a chance to learn. Crafting is about enjoying the journey, not just the end result.
Pro tip: Always have extra fabric for quick fixes. And don’t hesitate to start over if you need to. With patience and practice, your DIY Christmas stockings will be beautiful!
Conclusion
Making personalized stocking ideas is more than a craft. It’s a way to add love and memories to every holiday. Your handmade Christmas stockings show your creativity and family traditions. Each stitch tells a story, making simple fabric into a treasured keepsake.
Looking back on what you’ve learned, remember your stockings are special. They can be classic or modern, but the personal touch matters most. This makes each project unique.
Your stockings are not just decorations. They are family heirlooms waiting to happen. They capture the season’s warmth, love, and creativity. They hang proudly, showing off your skill and passion.
Crafting your own stockings is a celebration of creativity and tradition. Enjoy the pride of showing off your handmade creations. They will help create special moments for years to come.