Christmas Stocking Round Loom Knitting Pattern
Welcome to the world of holiday crafting! Making a Christmas stocking on a round loom is simpler than you think. This guide will boost your crafting skills and help you make a special holiday gift for your family.
Creating your own stocking is more than a craft. It’s a magical way to connect with your family’s past. Whether you’re new to crafting or have lots of experience, round loom knitting is fun and easy. You’ll enjoy watching your stocking grow as you work on it.
Round loom knitting adds a special touch to your holiday prep. With basic tools and a bit of practice, you can make a stocking that shows off your style. You can choose from traditional colors or go for something modern and simple.
In this detailed guide, I’ll show you how to do it all. You’ll learn about picking the right materials, basic techniques, and adding special touches. Get ready for a crafting adventure that will make your home feel cozy and festive!
Essential Materials and Tools for Round Loom Christmas Stocking
Making a DIY round loom stocking needs the right stuff. Get your supplies ready before starting. This makes the whole process easier and more fun.
Selecting the Perfect Yarn
Finding the right yarn is key for a beautiful stocking. Look for yarns that are:
- Warm and durable
- Fun holiday colors
- Soft for comfort
Wool blend and acrylic yarns are great for Christmas stockings. They keep you warm and stay in shape all season.
Picking the Right Round Loom
The size of your loom affects your stocking’s size. Think about these when picking your loom:
- How big you want your stocking
- The weight of your yarn
- Your knitting skill level
Essential Crafting Supplies
You’ll also need some extra tools for your stocking:
- Knitting hook
- Scissors
- Tapestry needle
- Stitch marker
Having these ready will help you make a great stocking. It’s going to be a fun project!
How to Make a Christmas Stocking on a Round Loom

Making a Christmas stocking on a round loom is a fun holiday craft. It adds warmth and a personal touch to your decorations. It’s a special way to show your creativity and make something unique for your home.
Before starting, get all your materials ready and pick a comfy spot to work. It might seem hard at first, but with time and practice, you’ll get the hang of it.
- Select your round loom (choose a size appropriate for your desired stocking length)
- Prepare your yarn in festive holiday colors
- Secure your first loop on the loom’s pegs
- Begin creating the foundational rows
- Maintain consistent tension throughout your project
The secret to great holiday crafts with a round loom is keeping your tension even and practicing. Don’t worry if your first try isn’t perfect! Every stocking you make will help you get better.
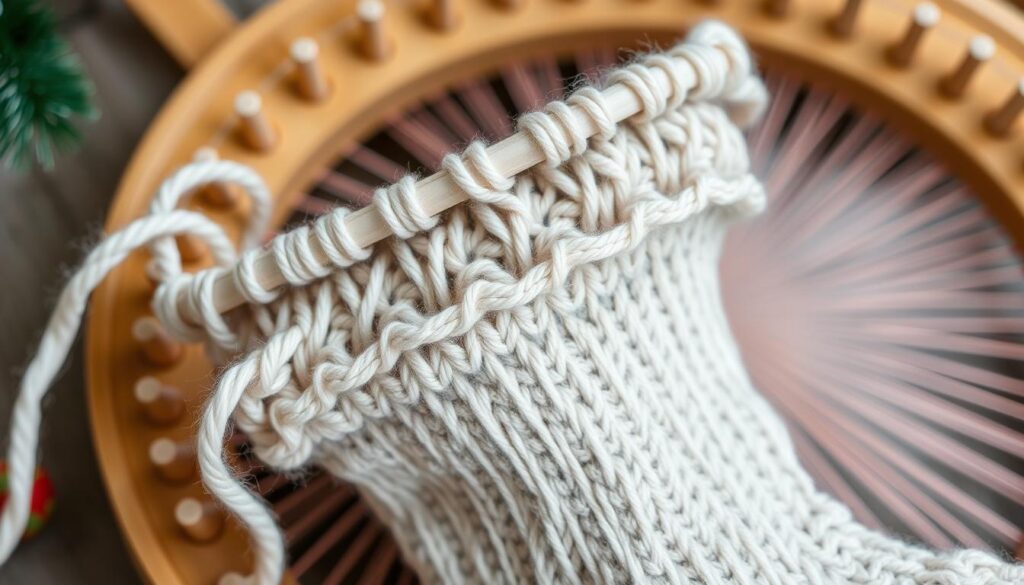
For Christmas stocking knitting on a loom, aim for a smooth, even stitch pattern. Start with the e-wrap technique, which is strong and good for your project. As you go, you’ll get more confident and skilled in loom knitting.
- Use soft, durable yarn for best results
- Keep your stitches uniform
- Take breaks to prevent hand fatigue
- Enjoy the creative process
Remember, every handmade stocking has a story of love and creativity. Your unique design will become a beloved holiday tradition for years.
Preparing Your Round Loom for the Stocking Project
Making homemade Christmas stockings is a fun project. But, it starts with preparing your round loom. This is the first step to making a beautiful holiday stocking.
Before starting your stocking, set up your round loom carefully. The right setup can turn a frustrating project into a fun one.
Loom Setup Essentials
Setting up your round loom is important. Here are the key steps:
- Choose a round loom size that fits your stocking design
- Make sure all pegs are clean and lined up
- Check the loom for any damage or issues
- Have your yarn and tools ready
Creating the Perfect Foundation Row
The foundation row is key in your stocking pattern. It sets the structure and stability of your stocking. Take your time and work carefully to start right.
- Wrap the yarn around the pegs evenly
- Keep the tension even in the first row
- Double-check your wrapping
- Make sure no loops are missed or tangled
Mastering Tension Control
Controlling tension is key to making your stocking look great. Even tension keeps your stocking neat and in shape.
Pro tip: Practice your tension on a small sample before starting the full stocking. This will help you get better and more confident.
Basic Stitches for Christmas Stocking Knitting

Learning to make a Christmas stocking on a round loom starts with basic stitches. Each stitch adds texture and structure to your project. A good Christmas stocking tutorial will teach you three key stitches.
Let’s look at the essential stitches for your round loom knitting:
- E-Wrap Stitch: This stitch is the base for most round loom projects. It makes a smooth fabric perfect for your stocking.
- U-Wrap Stitch: This stitch adds depth and stretch to your fabric. It’s great for stretchy parts of your stocking.
- Purl Stitch: It gives a different texture and helps with patterns in your stocking.
Start by practicing each stitch slowly. Focus on keeping your tension even. Your first tries might not look perfect, but keep going. Every knitter was once where you are.
Pro tip: Watch video tutorials online to learn these stitches. Seeing them done in real-time can help you grasp the techniques better.
Creating the Stocking Cuff Pattern
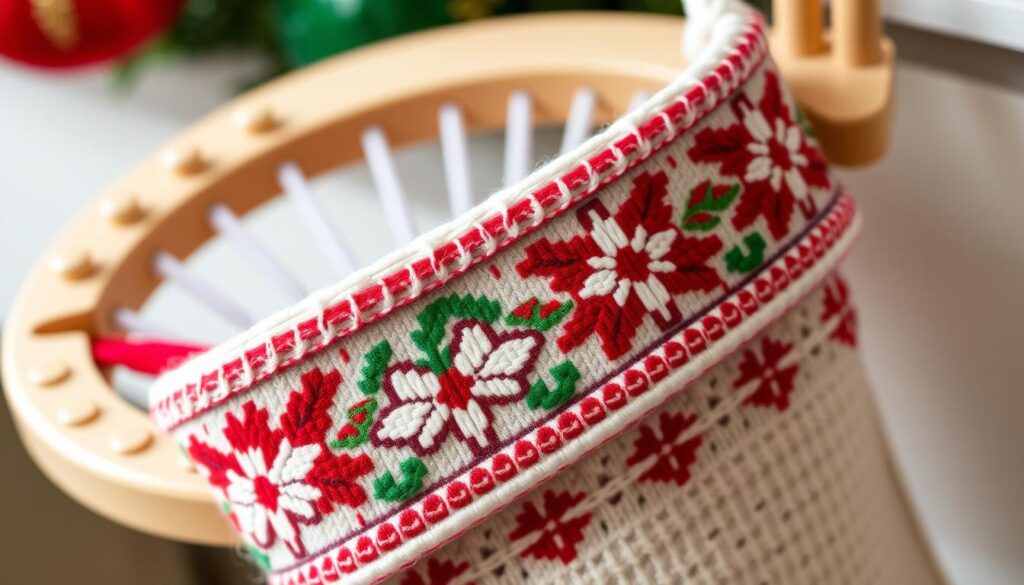
When making round loom Christmas projects, the stocking cuff is your chance to get creative. It’s where you can add your own special touch and festive flair to your handmade stocking.

The cuff turns a basic stocking into a unique family heirloom. Knitters can try different techniques to make their holiday gift truly special.
Decorative Cuff Techniques
Make your DIY round loom stocking pop with these cuff design ideas:
- Ribbed texture for classic holiday charm
- Cable knit patterns for detailed designs
- Colorwork featuring festive motifs
- Metallic yarn accents for sparkle
Adding Personal Touch to Your Design
Personalization makes your round loom Christmas projects truly special. Here are some creative ways to add your own touch:
- Embroider family names or initials
- Incorporate meaningful color combinations
- Add custom buttons or decorative elements
| Technique | Difficulty Level | Visual Impact |
|---|---|---|
| Simple Ribbing | Beginner | Moderate |
| Cable Knit Pattern | Intermediate | High |
| Colorwork Design | Advanced | Very High |
Remember, your stocking tells a story. Each stitch is a piece of your creativity and love. So, your DIY round loom stocking becomes a treasured holiday keepsake.
Shaping the Heel and Toe Sections
Creating the perfect heel and toe sections is key in Christmas stocking knitting on a loom. These areas need special care to look professional and fit right.

When making the heel of your Christmas stocking, you’ll use special techniques. These help create a curved shape that looks like a foot. Here’s how to do it:
- Mark the center point of your heel section on the round loom
- Begin decreasing stitches to create the heel curve
- Use a short row technique to build depth and shape
For the toe section, precision is important. You’ll decrease stitches gradually to make a smooth, tapered end.
| Heel Shaping Technique | Difficulty Level | Time Required |
|---|---|---|
| Short Row Method | Intermediate | 30-45 minutes |
| Gradual Decrease | Beginner | 20-30 minutes |
Pro tip for Christmas stocking knitting on a loom: Use stitch markers to track your decrease points. This makes shaping easier and more accurate.
- Keep your tension consistent
- Practice on scrap yarn first
- Take your time with each row
Remember, perfecting these sections takes practice. Don’t worry if your first try isn’t perfect. Every stocking you make will help you get better!
Adding Festive Decorative Elements
Turn your homemade Christmas stocking into a holiday masterpiece with creative decoration. A circular loom Christmas stocking pattern is the perfect canvas for your festive spirit.
Decorating your handmade stocking lets you show off your unique style. Let’s dive into some fun ways to make your stocking special!
Incorporating Holiday Colors
Choosing colors can really make your stocking pop. Here are some vibrant color combos to try:
- Classic red and green with white accents
- Metallic silver and blue for a winter wonderland theme
- Soft pastels for a modern holiday look
- Ombré color transitions for a sophisticated design
Embellishment Techniques
Take your stocking to the next level with these creative embellishments:
- Attach small jingle bells along the cuff
- Sew on sequins or beaded decorations
- Create felt appliqués of snowflakes or holiday characters
- Embroider personalized names or festive messages
Pattern Variations
Try different textures to make your stocking unique:
- Integrate cable knit sections for depth
- Use variegated yarn for interesting color transitions
- Add textured yarn for dimensional interest
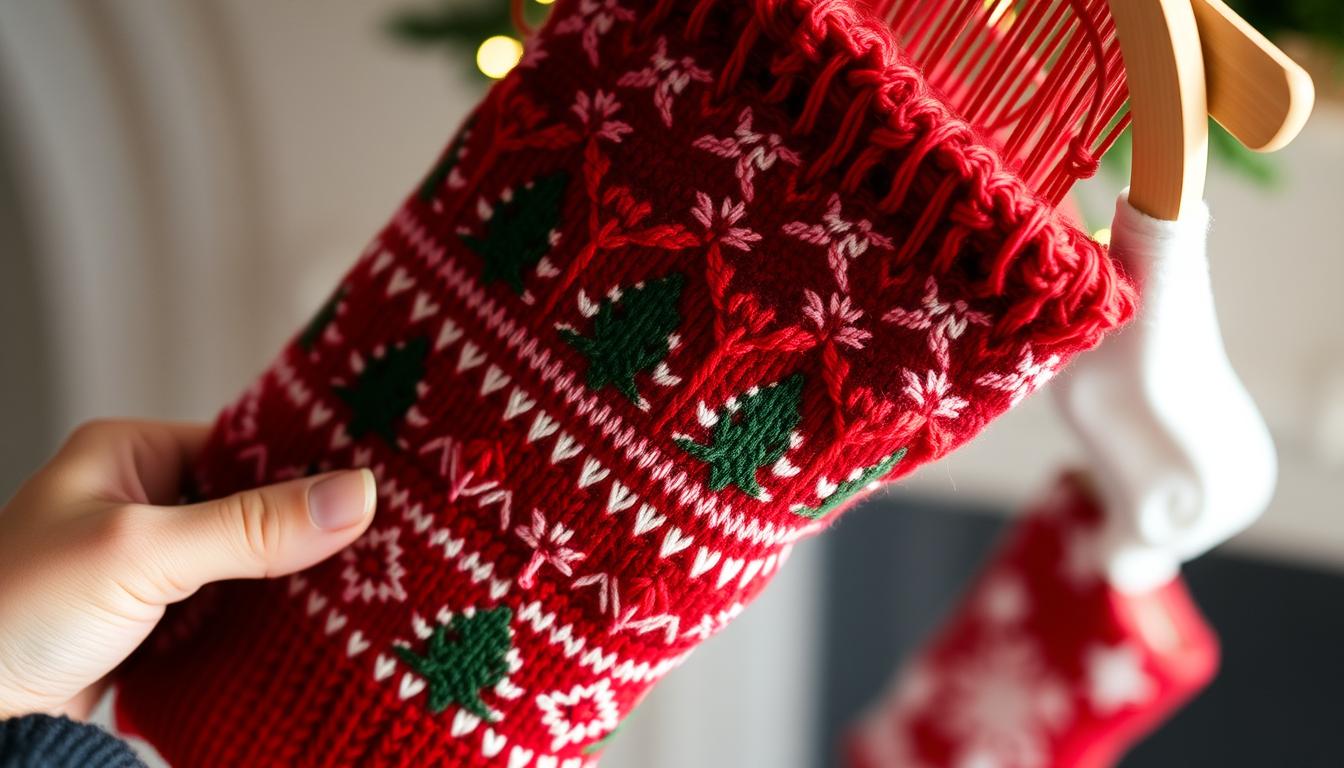
- Incorporate Fair Isle-inspired color work
The most important thing is to enjoy the creative process. Each stitch and embellishment adds to the holiday cheer and your personal story!
Finishing Touches and Assembly Tips
Making a Christmas stocking on a round loom needs careful attention in the final steps. Your project is almost done, and these details will make it look like a pro-made holiday gift.
When you learn to make a Christmas stocking on a round loom, the assembly is key. Begin by weaving in loose yarn ends for a clean look. Use a darning needle to blend these threads into your fabric.
- Trim excess yarn with sharp fabric scissors
- Secure all knots invisibly within the stocking’s fabric
- Check for any loose stitches that need reinforcement
Adding a sturdy hanging loop is vital in your Christmas stocking guide. Pro tip: Use a reinforced yarn section or a decorative ribbon for a beautiful hang from the mantel or tree.
| Assembly Step | Key Considerations |
|---|---|
| Blocking | Steam or wet block to set final shape and size |
| Hanging Loop | Attach securely at top edge of stocking |
| Final Inspection | Check for evenness and clean edges |
For a top-notch finish, add small touches like metallic thread or small buttons. These details will make your handmade stocking a treasured holiday gift.
Troubleshooting Common Round Loom Knitting Issues
Working on DIY round loom stocking projects can have its ups and downs. But don’t worry! Every knitter faces small problems during round loom Christmas projects. I’m here to guide you through common knitting issues with confidence.
Knitting on a round loom needs practice and patience. Knowing how to solve common problems will make your holiday crafting smoother and more fun.
Identifying Stitch Problems
When making your DIY round loom stocking, you might run into a few usual challenges:
- Dropped stitches
- Uneven tension
- Loose or tight loops
- Unexpected yarn breaks
Fixing Dropped Stitches
Dropped stitches might look daunting, but they’re simple to fix. Here’s a quick way to save your round loom Christmas project:
- Find where the stitch dropped
- Use a crochet hook to pick up the loose strand
- Carefully weave the strand back through the existing stitches
- Gently adjust surrounding stitches to keep even tension
Managing Tension Challenges
Keeping your tension even is key for a professional-looking stocking. Here’s a helpful comparison to check your technique:
| Tension Issue | Symptoms | Solution |
|---|---|---|
| Loose Tension | Baggy, uneven fabric | Tighten yarn while wrapping |
| Tight Tension | Stiff, rigid fabric | Relax grip, use gentler wrapping |
Pro tip: Practice makes perfect! Don’t get discouraged if your first attempts aren’t flawless.
Storage and Care Instructions for Your Handmade Stocking
After you finish your holiday crafts with a round loom, it’s important to protect your stocking. Keeping it in good shape will help it last for many years.
When the holidays are over, clean your stocking carefully before you store it. Here are some key care tips:
- Gently hand wash the stocking in cool water with mild detergent
- Avoid harsh washing machines or dryers
- Air dry flat to maintain the stocking’s shape
- Store in a cool, dry place away from direct sunlight
For long-term storage, try these methods:
- Wrap the stocking in acid-free tissue paper
- Place in a breathable fabric storage bag
- Keep away from moisture
- Avoid plastic containers that can trap humidity
Pro tip: Add a cedar block or lavender sachet to prevent moth damage and keep your stocking smelling fresh during off-season storage.
By following these easy care steps, your handmade Christmas stocking will be a cherished family heirloom. It will bring joy every holiday season for years to come.
Conclusion
Making your own Christmas stocking on a circular loom is more than a holiday task. It’s a personal journey that turns simple yarn into a treasured family heirloom. Every stitch shows your creativity and hard work in making something truly special.
The skills you’ve gained from this pattern will help you with many projects. You now know how to control tension and master basic stitches. Your homemade stockings can become a yearly tradition, showing your growing skills.
I hope this journey has made you love loom knitting even more. Your handmade stocking is not just a decoration. It’s a sign of your creativity, patience, and love for traditional crafts. Enjoy the joy of making something uniquely yours.
When you hang your beautiful, handmade stocking this holiday, remember the joy and learning it brought. Happy crafting!


