How to Make a Christmas Stocking: Easy DIY Guide
Are you ready to make a magical Christmas stocking that will become a family treasure? I’m excited to share my love for creating personalized holiday decor. Making your own stocking is more than a project; it’s a way to add love and creativity to a cherished holiday tradition.
Whether you’re new to crafting or have experience, making a Christmas stocking is simpler than you think. I’ll walk you through each step, making complex techniques easy and fun. This will boost your confidence and spark your creativity.
This guide will change your holiday crafting experience. You’ll learn how to pick fabrics, master basic sewing, and add personal touches. Get ready to create a festive masterpiece that will bring joy to your home for years!
Essential Materials and Tools for Your Christmas Stocking
Starting a festive stocking tutorial means getting the right stuff. Making a handmade Christmas stocking is fun. It needs careful planning and the right supplies.
Fabric Selection Guide
Picking the right fabric is key for your stocking. Each material has its own feel and strength:
- Cotton: Soft, easy to work with, and versatile
- Felt: Thick, great for beginners
- Velvet: Luxurious, adds elegance
- Wool: Warm, classic choice
Required Tools Checklist
| Tool | Purpose |
|---|---|
| Fabric Scissors | Cuts materials precisely |
| Sewing Machine | Stitches quickly and strongly |
| Pins | Keeps fabric pieces together |
| Measuring Tape | Makes sure sizes are right |
| Fabric Marker | Helps mark cutting and sewing lines |
Optional Embellishment Materials
Make your stocking even more special with these extras:
- Sequins
- Embroidery Thread
- Decorative Buttons
- Ribbon
- Glitter Fabric Paint
Remember, the fun of making a handmade Christmas stocking is in your creativity! Choose materials that make you happy and show off your style.
Getting Started: Planning Your Christmas Stocking Design
Starting your own Christmas stocking project is exciting. It’s where your holiday style comes to life. Let’s see how to turn fabric into a festive piece that shows off your personality.
Before you start designing, think about a few things:
- Size and Proportion: Choose the size of your stocking. Will it be traditional or modern and big?
- Style Inspiration: Look at your home decor for colors and themes that match your holiday vibe.
- Functional Considerations: Think about where the stocking will hang and how much it should hold.
Sketching your design is a key step. You don’t need to be a great artist. Simple drawings are fine! Your sketch helps you see what your stocking will look like and guides you while sewing.
Pro tip: Make a paper template first. It lets you try out shapes and sizes without cutting your fabric. Use the template to draw on your fabric, making changes as needed for the perfect design.
- Measure twice
- Cut once
- Dream big!
There are no rules in stocking design. Your creation should make you happy and show your holiday spirit. Go for classic colors or try something new. This is your chance to show off!
How to Make a Christmas Stocking: Step-by-Step Instructions
Making your own Christmas stocking is a fun DIY project. It adds a personal touch to your holiday decor. Whether you’re new to crafting or have experience, making a stocking is rewarding.
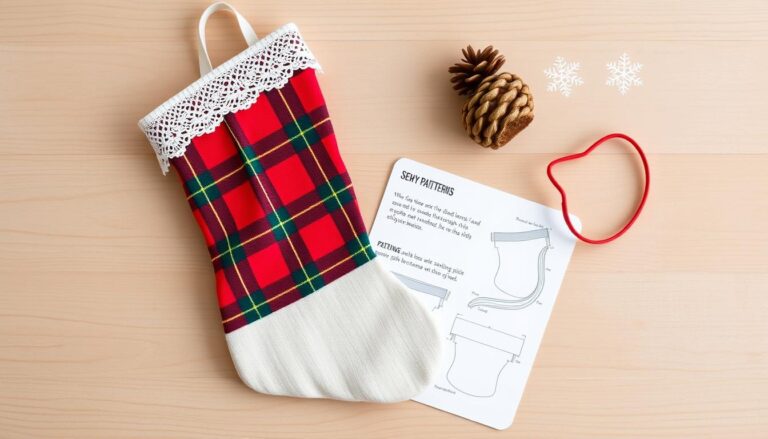
Creating Your Stocking Pattern
Designing your stocking pattern is the first step. Use paper or lightweight cardboard for your template. Here’s how to make a great pattern:
- Sketch a classic stocking shape on paper
- Measure and mark proportional dimensions
- Cut out the pattern carefully
- Test the shape by folding the paper to ensure symmetry
Cutting and Preparing Fabric
Choosing the right fabric is important for your stocking. Pick a sturdy fabric that can handle holiday use.
| Fabric Type | Durability | Recommended Use |
|---|---|---|
| Cotton | Medium | Everyday festive stockings |
| Felt | High | Decorative and long-lasting |
| Velvet | Low | Elegant, special occasion |
Basic Assembly Steps
Assembling your stocking needs patience and detail. Here’s a simple guide:
- Pin your pattern to folded fabric
- Cut two identical stocking shapes
- Place fabric pieces right sides together
- Sew around the edges, leaving top open
- Turn stocking inside out
- Press seams for a crisp finish
Pro tip: Use a 1/2 inch seam allowance for durability and neat edges.
Choosing the Perfect Fabric Combinations
Starting your personalized stocking project means picking the right fabrics. It’s like turning a simple holiday item into a work of art. You’ll learn how different materials can make your stocking stand out.

- Texture contrast
- Color harmony
- Seasonal durability
- Personal style
Look for fabric combos that add both visual and tactile appeal. Cotton with velvet, wool and silk, or burlap with lace can lead to amazing results.
Fabric Pairing Guide
| Base Fabric | Accent Fabric | Style Mood |
|---|---|---|
| Cotton | Velvet | Classic Elegance |
| Wool | Silk | Luxurious Warmth |
| Linen | Sequin | Modern Festive |
Remember, always pre-wash natural fabrics before starting. This prevents them from shrinking after you’ve made your stocking.
Adding a Personal Touch: Decorative Elements
Making a handmade Christmas stocking is a chance to show off your creativity. It turns a simple fabric into a special holiday keepsake that tells your story.
Decorative elements can make your stocking truly special. Let’s look at some fun ways to make it stand out and show your style.
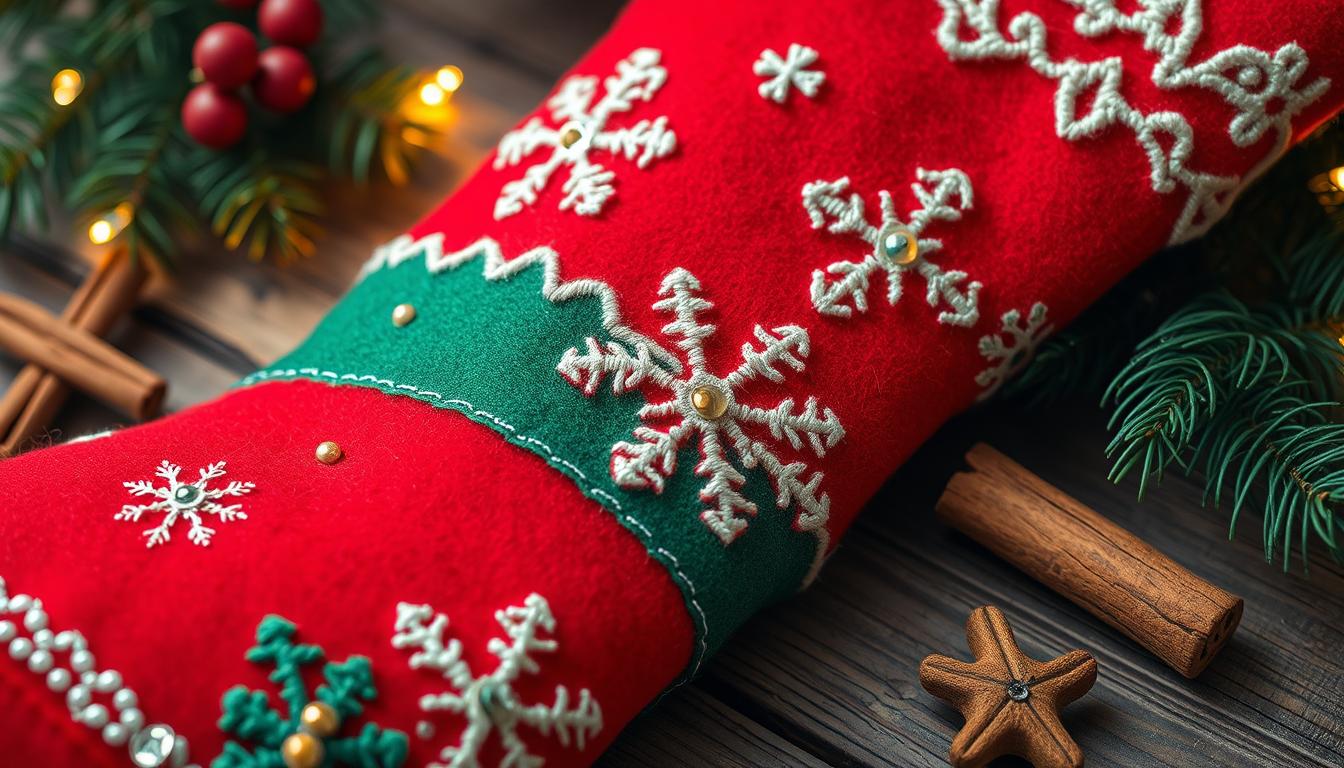
Embroidery Techniques for Festive Flair
Embroidery is a classy way to make your stocking unique. Even if you’re new to it, you can learn simple stitches that add nice details:
- Backstitch for names and simple designs
- Chain stitch for decorative borders
- Satin stitch for filling larger areas
Appliqué: Adding Dimensional Charm
Appliqué is like adding fabric art to your stocking. It involves attaching fabric pieces to make detailed designs or fun shapes.
| Appliqué Type | Difficulty Level | Best For |
|---|---|---|
| Raw Edge | Beginner | Simple shapes, casual look |
| Turned Edge | Intermediate | Precise designs, clean finish |
| Reverse | Advanced | Complex patterns, artistic effects |
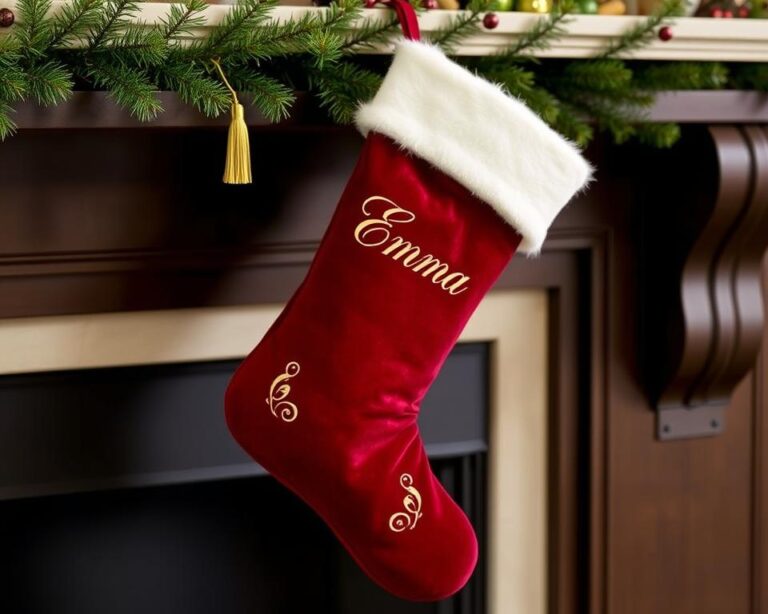
Names and Monograms: The Personal Touch
Adding a name or monogram makes your stocking extra special. You can use embroidery, appliqué, or fabric paint. This makes your stocking a family treasure.
- Use contrasting thread colors for visibility
- Select fonts that match your stocking’s style
- Practice on scrap fabric first
The goal is to make something unique that brings joy. Don’t be shy to try new things and let your creativity flow!
Creating the Stocking Cuff and Hanging Loop

The cuff and hanging loop are key parts of a Christmas stocking. They make your stocking look great and work well. These parts add beauty and function to your holiday gift.
Choosing the right fabric for the cuff is important. Pick something that looks good with your stocking’s main material. A sturdy fabric helps the cuff keep its shape.
Cuff Construction Techniques
- Measure the stocking top circumference precisely
- Cut fabric 1-2 inches wider than the measured width
- Fold fabric to create a clean, crisp edge
- Press edges for a professional finish
The hanging loop needs to be strong. Use a tough fabric or ribbon that can hold the stocking’s weight.
| Cuff Material | Recommended Use | Difficulty Level |
|---|---|---|
| Cotton | Lightweight, crisp finish | Beginner |
| Velvet | Luxurious, elegant look | Intermediate |
| Felt | Sturdy, holds shape well | Easy |
When adding the hanging loop, position it securely inside the stocking’s top seam. Use strong stitches to make sure it can hold the stocking’s weight.
Advanced Embellishment Techniques for Festive Appeal
To make your holiday stocking stand out, learn some advanced embellishment techniques. A beautifully decorated stocking can turn into a masterpiece that shows the holiday spirit.
Sparkling Sequin and Bead Magic
Working with sequins and beads needs patience and care. Here are some essential steps:
- Choose light sequins that match your fabric
- Apply fabric glue for a strong hold
- Make patterns or add random sparkles
- Pick heat-resistant sequins for lasting beauty
Ribbon Work Detailing
Ribbons bring a touch of elegance to your stocking. Try these ribbon techniques:
| Ribbon Type | Decoration Style | Difficulty Level |
|---|---|---|
| Satin Ribbon | Elegant Bow | Beginner |
| Velvet Ribbon | Layered Trim | Intermediate |
| Metallic Ribbon | Geometric Patterns | Advanced |
Remember: Always tie ribbons with strong thread or fabric glue to keep them in place during the holidays.
Tips for Perfect Seams and Professional Finishing

Creating professional-looking seams is key to a great handmade Christmas stocking. Precision is more important than perfection when sewing stockings. I’ll share some top techniques to make your stocking look like it was made by a pro.
First, set up your workspace with these must-have tools:
- Sharp fabric scissors
- Pressing iron
- Seam ripper
- Fabric chalk or marking pen
Learning the right seam techniques can change your sewing experience. Here are my favorite methods:
- French Seam: Great for delicate fabrics, it makes a clean, hidden finish
- Zigzag Stitch: Stops fabric fraying on thicker materials
- Rolled Hem: Gives a smooth, professional edge
For crafting a handmade Christmas stocking, always press your seams after sewing. A well-pressed seam looks sharp and professional. Use steam on the right heat for your fabric.
Try these techniques on scrap fabric first. Remember, each stocking you make will help you get better and more confident!
Storage and Care Instructions for Handmade Stockings
Making a personalized stocking needs special care. Your handmade stocking should stay beautiful for years. Follow these tips to keep it looking great.
Protecting Your Festive Masterpiece
Start by understanding your stocking’s delicate nature. Different materials and decorations need special care. This keeps them looking their best.
Cleaning Methods
Cleaning your stocking gently is key:
- Spot clean delicate spots with a soft, damp cloth
- Use mild, color-safe detergents for fabric stockings
- Avoid harsh scrubbing that might damage embellishments
- Air dry completely to prevent fabric damage
Year-Round Storage Solutions
Keep your stocking safe when not in use with these tips:
- Wrap in acid-free tissue paper
- Use clear, breathable storage containers
- Store in a cool, dry place away from direct sunlight
- Avoid plastic bags that can trap moisture
Pro tip: Add a lavender sachet to keep your stocking fresh and protect against moths during storage.
Follow these care tips to enjoy your stocking for many holiday seasons.
Common Mistakes to Avoid When Making Christmas Stockings

When you start making Christmas stockings, you might run into some common problems. These can make your project go from fun to frustrating. Knowing what to watch out for can help you make a beautiful stocking.
Choosing the right fabric is very important. Beginners often make a few big mistakes here:
- Choosing fabrics that are too thin or stretchy
- Mixing incompatible fabric weights
- Neglecting to pre-wash fabric to prevent future shrinkage
When you cut and measure, you need to be precise. Here are some common mistakes to avoid:
- Not using sharp fabric scissors
- Skipping pattern tracing before cutting
- Cutting fabric without accounting for seam allowances
Sewing is another area where mistakes can happen. Be careful of these issues:
- Rushing through pinning and alignment
- Using incorrect needle types for your fabric
- Forgetting to backstitch at stress points
Every mistake is a chance to learn and get better. With patience and practice, you’ll make beautiful stockings that your family will love for years.
Troubleshooting Guide for DIY Stocking Projects
Making your own holiday stocking can have its ups and downs. But don’t worry! Every DIY project has its own set of challenges. With the right mindset, you can tackle any problem that comes your way.
Common Christmas Stocking DIY Challenges
While working on your holiday stocking, you might face some common issues. Here’s a list of the most frequent problems and how to solve them:
- Uneven Fabric Cutting: Make sure you’re using sharp scissors and a straight cutting mat
- Seam Puckering: Check your machine’s tension and use the right needle for your fabric
- Embellishment Mishaps: Practice on scrap fabric before adding final decorations
Professional Tips for Flawless Stockings
Professional crafters know that preparation is key. Here are some insider tips:
- Always pre-wash and iron your fabric before cutting
- Use interfacing for added structure and stability
- Test thread and needle combinations before starting
| Problem | Quick Fix |
|---|---|
| Fabric Fraying | Use pinking shears or fabric sealant |
| Uneven Embroidery | Use embroidery stabilizer |
| Weak Hanging Loop | Reinforce with double stitching |
Remember, every mistake is a chance to learn in your holiday stocking craft journey. Stay patient and enjoy the creative process!
Conclusion
Making a handmade Christmas stocking is more than a craft. It’s a way to celebrate holiday traditions and show off your creativity. This tutorial has shown you how to turn simple items into a treasured family heirloom.
Every stitch you’ve made is filled with love and care. Your stocking is more than a decoration. It’s a way to share holiday spirit across generations. Whether you’re new to crafting or have lots of experience, you’ve learned valuable skills.
Don’t worry about making it perfect. What makes your stocking special is your creativity and passion. The small mistakes tell the story of your crafting journey. Your finished stocking will be a warm reminder of holiday memories.
Share your finished stocking and try new things. DIY projects are all about learning and celebrating your creativity. Every project is a chance to make something unique and special.